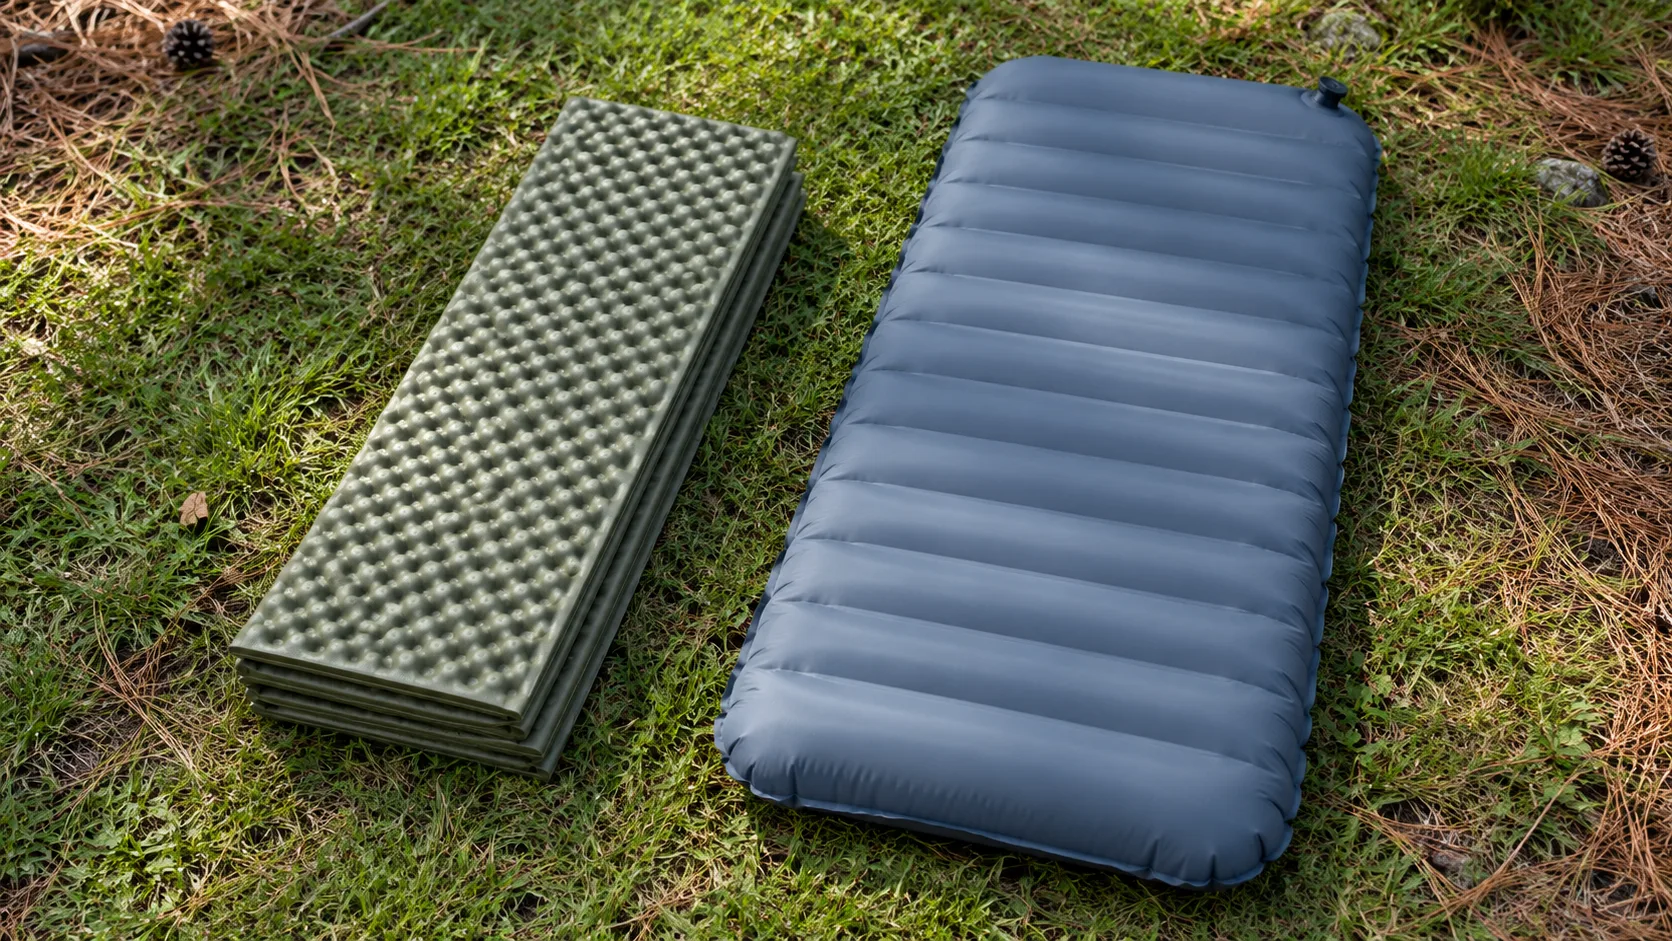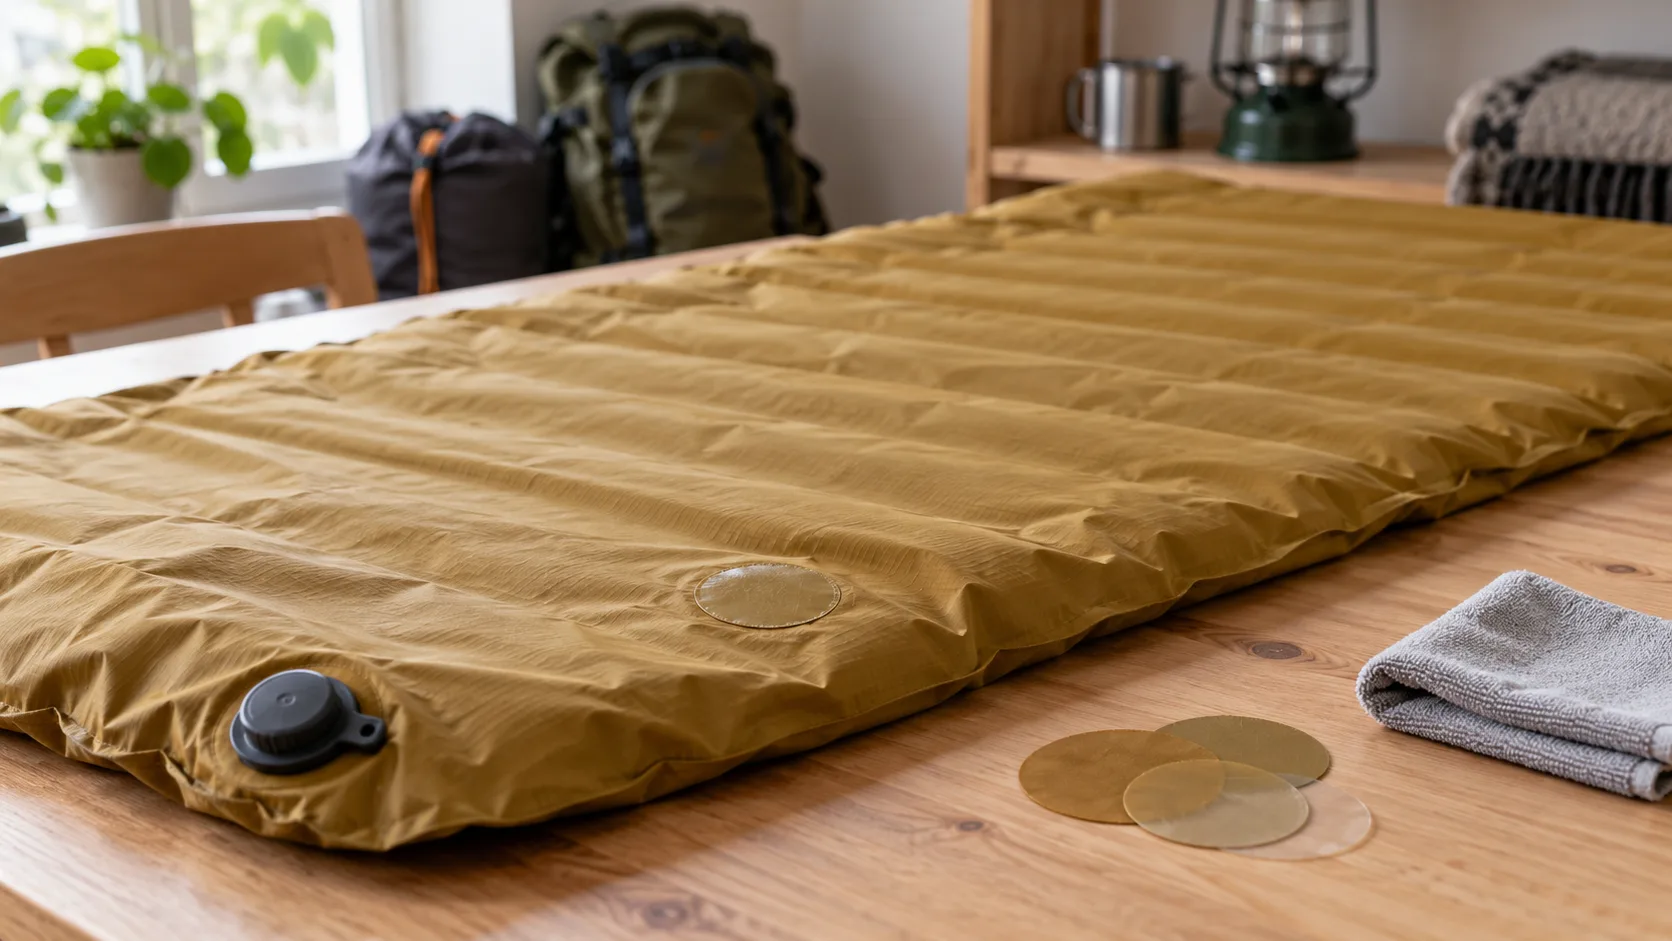
Find and mark the leak before repairing an inflatable sleeping pad. Clean and dry the surface, use a repair compatible with the model's fabric and complete the instructed waiting time before testing it again.
Find where the air escapes
If a pad went flat during a camping night beside Lake Siljan, I would inspect the valve and the whole pad at home before leaving again. A patch over the first visible mark only helps if air really escapes there. Keep the model name and purchase details if you need help from the manufacturer.
Sea to Summit's troubleshooting guide describes water or soapy-water checks for bubbles on its mats. Follow the method for your model, including the valve instructions. Rinse away residue after a soapy-water test.
Mark the spot. Deflate the pad. Let the surface dry completely before preparing the repair on a clean, flat surface. Keep looking if several areas leak, so a successful first repair does not conceal a second puncture.
Match the repair to the fabric
Self-adhesive patches, glue and different surface materials can need different methods. Use the model's supplied repair kit or a solution the manufacturer explicitly identifies as compatible. A kit for another sleeping pad is not automatically suitable for yours.
Sea to Summit describes different methods for its Air Sprung Cell and self-inflating mats, with further differences between certain upper and lower fabrics. This guide therefore gives no universal glue type or waiting time. Read the correct instructions for the model before opening a tube.
Prepare the surface before placing the patch
Therm-a-Rest's repair advice identifies inadequate cleaning as a common reason for patches failing. Use the cleaning method specified for the repair and prepare the surface for the adhesive. Do not soak the fabric in solvent.
Set out the kit, instructions and anything needed to hold the repair in place before starting. A dry rehearsal reveals whether you need another work surface or a protected weight. Follow the kit's instructions for adhesive quantity, patch size and any pressure required during curing.
Allow time before the next night
Therm-a-Rest distinguishes a quick field repair from a permanent home repair. Its Permanent Home Repair Kit specifies 4 hours under a weighted press, but some models need to rest overnight. Follow the instructions for your particular mat. Do not apply that figure to an arbitrary tube of glue.
Imagine leaving for Tiveden in 2 days. Repair the pad now, allow the full waiting time and test it before packing. If it still loses air, you need time for further troubleshooting, manufacturer support or another sleeping arrangement. Avoid leaving the entire margin to the last hour before departure.
Use support when the damage needs it
Contact the manufacturer if you cannot locate the leak, air escapes from many points or a valve or seam appears damaged. Describe what happens and send clear photographs. A warranty assessment or professional repair may be appropriate; do not cut or modify parts on a guess.
Check that the repair kit is packed again when preparing for 3 camping nights. If you need another sleeping arrangement, read about choosing a mat for warmth and sleeping space. Sleeping-bag temperature ratings are another part of the same night.
Find the campsite again
Once the pad is repaired, the small beach beside your overnight place may be what you want to remember from the weekend. In FARON you can attach a photograph to the saved night on your map and keep the place for another trip. Log your first night from the camping weekend.
Frequently asked questions
Can I use any repair patch?
No: choose a kit or method suitable for the model's fabric and finish. Check compatibility with the manufacturer.
How do I find a small puncture?
Use the model's recommended leak test, such as a water check that reveals bubbles. Mark the leak before deflating and drying the pad.
How long does the adhesive need to dry?
Follow the timing for your specific repair kit. Quick field repairs and permanent home repairs have different instructions.
What if the pad still goes flat?
Check for more leaks or a valve problem. Contact the manufacturer if the cause is unclear or the damage is outside the kit's intended repair method.