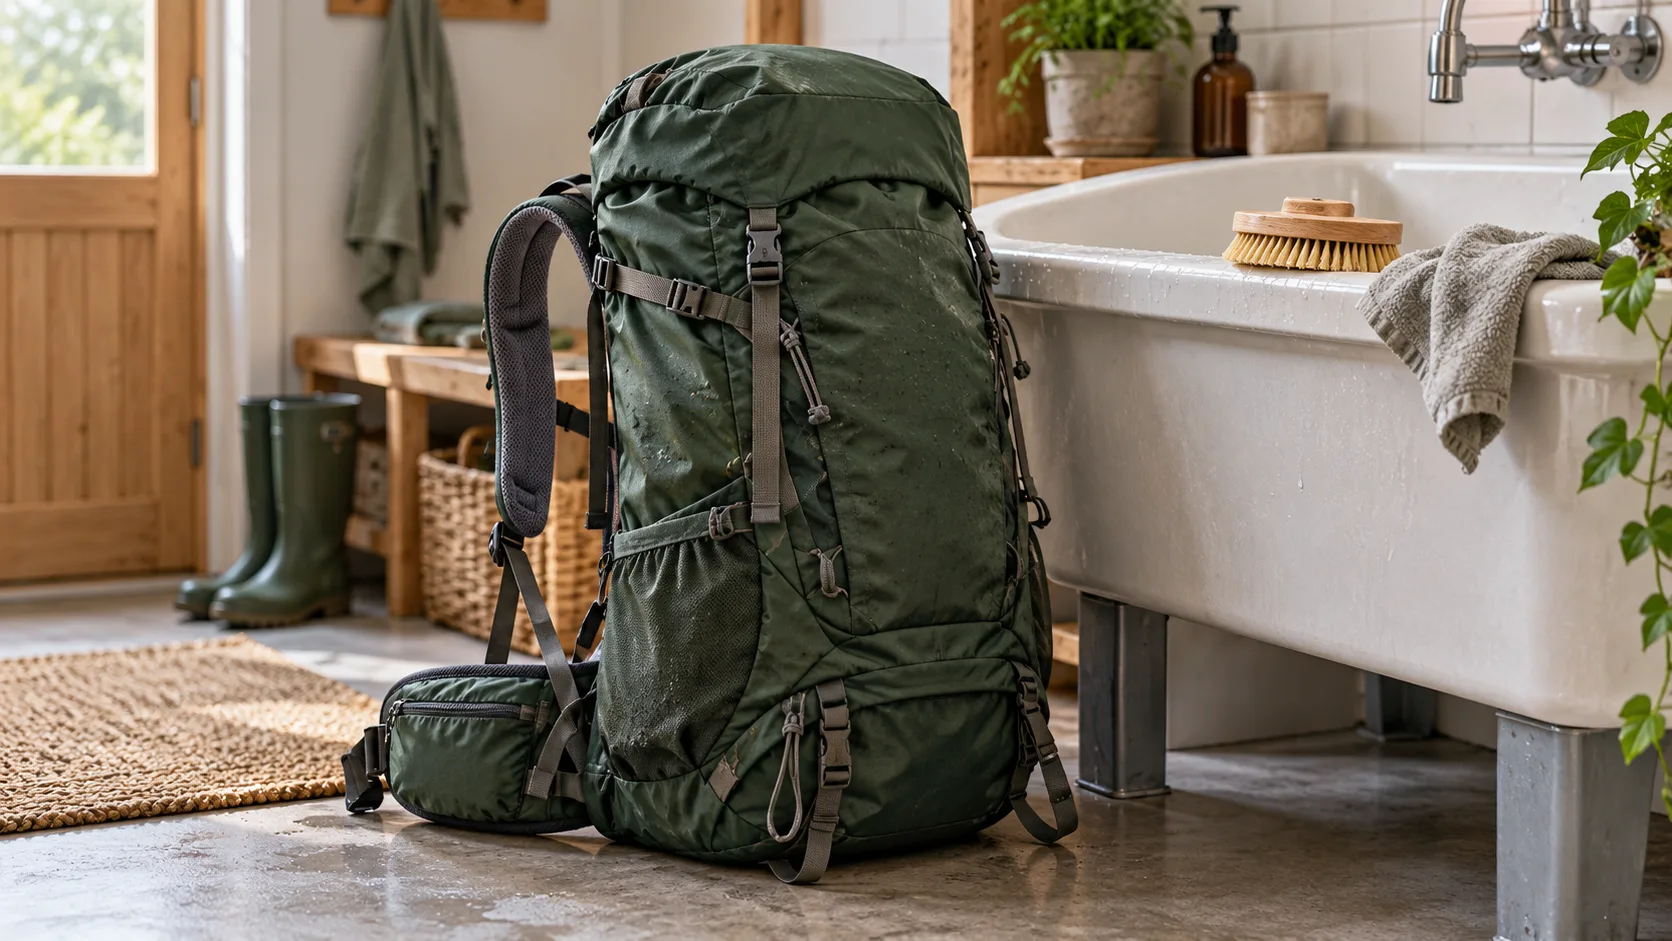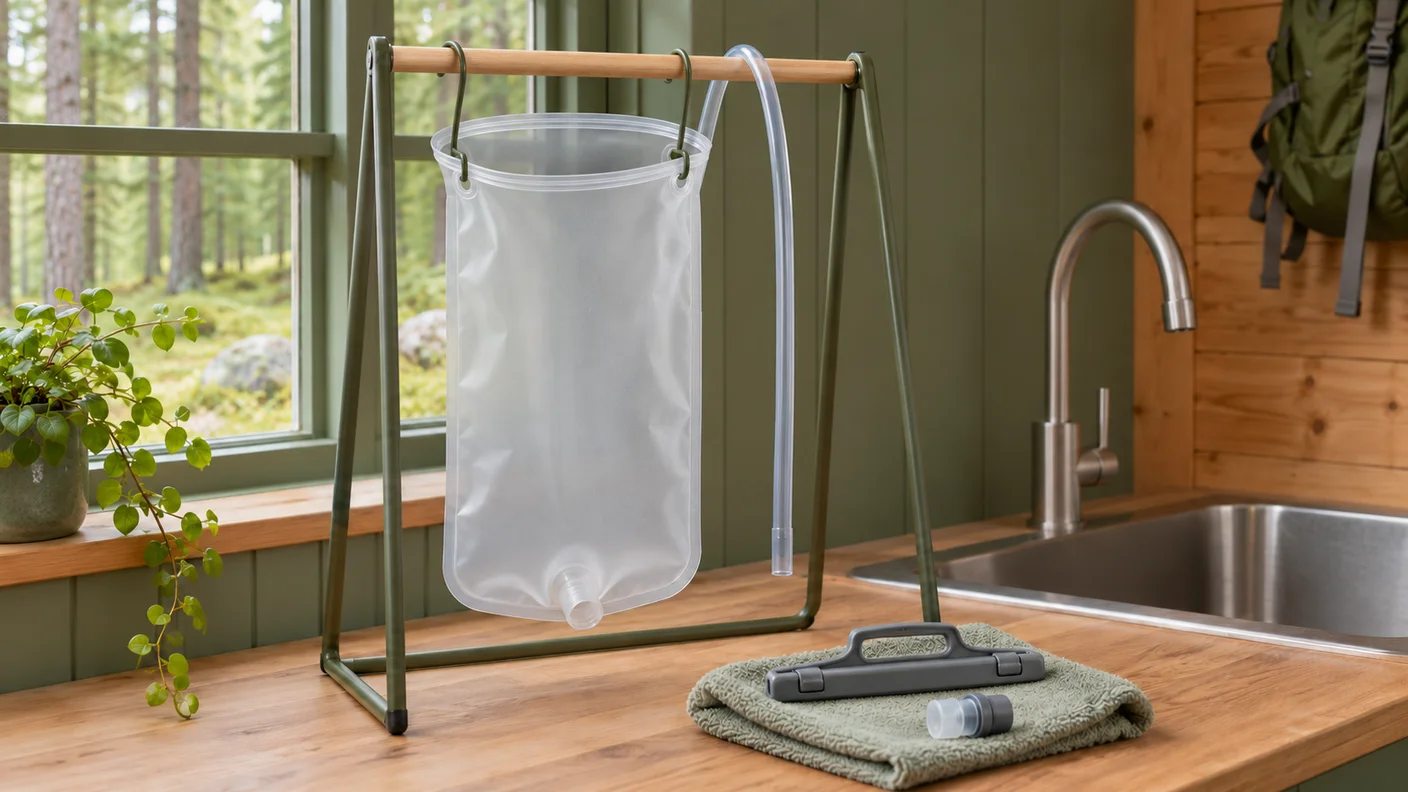
Clean a hydration reservoir with warm water and a mild dish soap approved for the model, rinse the tube and bite valve too, and let every part air-dry completely. After a day hike in Tiveden, I would take the reservoir out of the backpack as soon as I got home, while there is still time to arrange somewhere for it to dry.
Take out the drinking tube too
The wide opening makes the reservoir itself easy to look inside. The tube and mouthpiece need the same attention. Disconnect only the parts that the instructions identify as removable; another model’s connector may work differently.
Lay out the parts. Read the care instructions. You can then choose brushes that reach inside without damaging the material and see how the valve fits together again.
Keep the model’s instructions beside the sink
Osprey’s Hydraulics care guide describes warm water, mild dish soap and separate brushes for the reservoir and tube. It explicitly advises against boiling water and bleach. A cleaning method for a rigid water bottle may therefore be unsuitable for a soft reservoir.
Brush the inside gently and clean the bite valve’s removable parts as instructed. Rinse away the soap afterwards. If you use a cleaning tablet, choose one intended for the system and follow its dosage and contact time.
I would rinse the system straight after the walk even if a more thorough wash has to wait. Osprey recommends rinsing after every use, especially after sugary drinks. Empty any remaining sports drink from the tube before putting the kit aside.
Leave room for air inside
Drain the water and hold the opening apart with a dryer suited to the model. The reservoir’s sides should not stick together. Osprey describes hanging its reservoir on a drying rack in a well-ventilated space.
CamelBak’s drying advice also covers the tube: drain it and hang it with both ends open. Tight coils can retain water in their bends. Leave the other parts on a clean surface with room for air to circulate.
Check more than the outside. Look for droplets around corners, seams and connections before reassembling everything. If moisture remains, keep drying. I would avoid a fixed time limit because rooms and reservoir designs differ.
Suppose the kit will be stored for 2 weeks and you are leaving home in 1 hour. If droplets remain in the tube, I would leave the clean system open on its drying rack instead of sealing it inside the backpack. Pack the other equipment while the parts continue to dry.
Pack a dry system for the next walk
Store the parts somewhere clean and dry, protected from sharp objects. Test the connection and valve with water before packing the reservoir beside your clothes. A valve fitted incorrectly is easier to spot over the sink than at the trailhead.
If the backpack also needs cleaning, it has its own care instructions. Read about washing and drying a hiking backpack and put the hydration system back when both are dry.
Keep the place from your hiking weekend
After 2 camping nights and several day hikes, the photos may be mixed together on your phone. In FARON, you can add a photo to a saved night on the map. Log your first night with the place you want to return to.
Hydration reservoir questions
Can I use ordinary dish soap?
Mild dish soap is suitable if the model’s care instructions allow it. Rinse the reservoir, tube and valve thoroughly afterwards.
How do I dry the drinking tube?
Drain the tube and allow air in through both ends. Hang it without tight bends where water can collect.
Can I pour in boiling water?
Osprey advises against boiling water in its reservoirs because it can damage them. Follow the temperature limit for your model.
Does the bite valve need washing?
Yes, clean the bite valve and the parts that can be removed. Follow the instructions for taking it apart and putting it back together.